


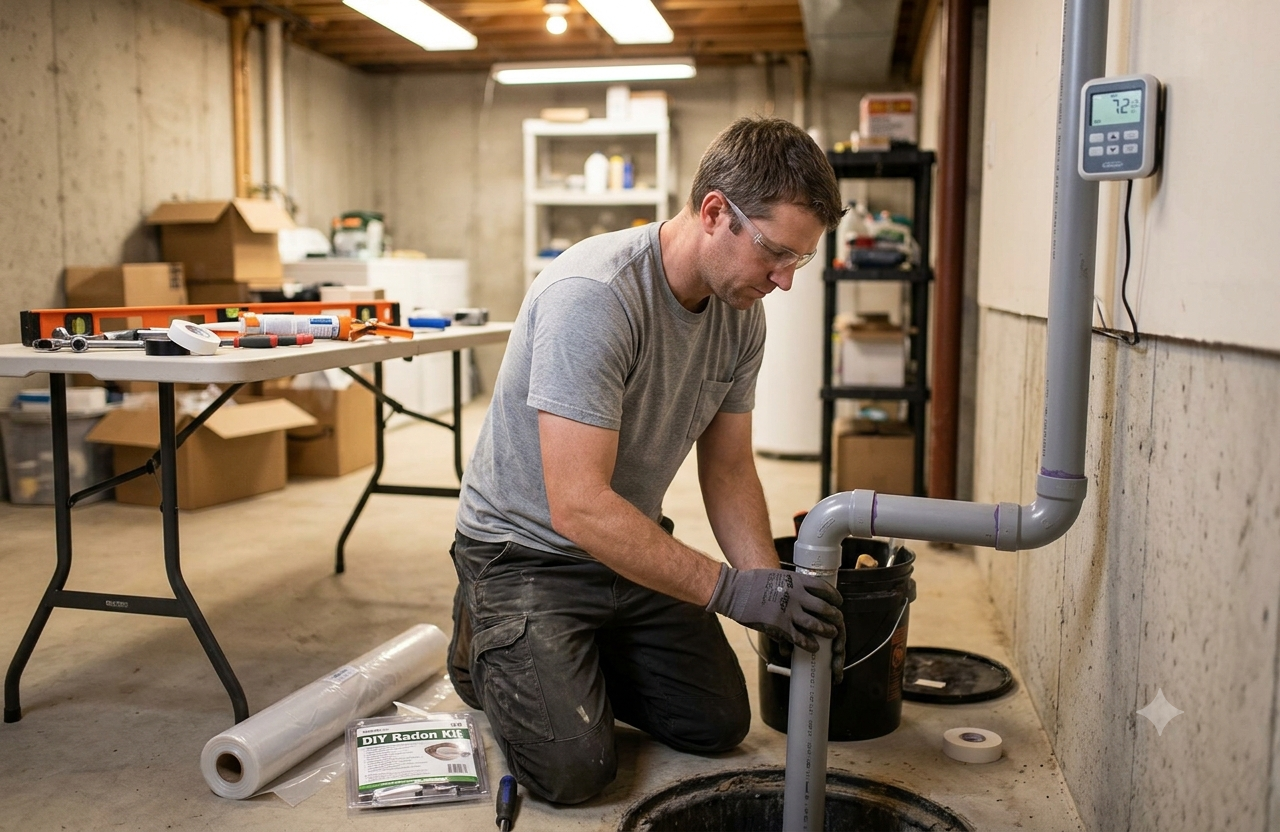
Radon is a naturally occurring radioactive gas that can enter homes through cracks in foundations, floor drains, sump pits, construction joints, and other openings in contact with the soil. Because radon is invisible and odorless, homeowners cannot identify a problem simply by looking around their property. Testing is the most reliable way to determine whether radon levels are elevated.
When homeowners discover high radon levels, they may consider a DIY radon removal service as a way to save money and address the issue themselves. While some basic steps can help reduce radon entry, effective radon mitigation requires careful planning, proper equipment, and verification testing. A poorly designed system may fail to lower radon concentrations and can sometimes create additional indoor air quality concerns.
Understanding how DIY radon reduction works and when professional assistance is appropriate can help homeowners make informed decisions about protecting their indoor environment.
What Is a DIY Radon Removal Service?
A DIY radon removal service generally refers to a homeowner taking steps to reduce radon without hiring a professional mitigation contractor. This may involve sealing foundation openings, improving ventilation, installing a radon reduction system, or using other methods designed to prevent soil gas from entering the home.
However, radon mitigation is more than simply sealing cracks. Radon can enter through numerous pathways, and soil conditions beneath a building can affect how gas moves. For this reason, a complete approach should begin with testing and an assessment of the property.
DIY measures can sometimes complement a professionally designed mitigation system, but homeowners should understand their limitations before attempting a complete installation themselves.
Why Should Homeowners Take Radon Seriously?
Radon exposure is a significant indoor air quality concern because long-term exposure to elevated concentrations can increase the risk of lung cancer. The gas can accumulate in enclosed areas, particularly lower levels of homes that have direct contact with the ground.
The challenge is that radon does not produce an obvious warning sign. You cannot see, smell, or taste it. A home can appear clean and well maintained while still having elevated radon levels.
Regular testing is therefore an important first step. If testing indicates elevated concentrations, homeowners should consider appropriate mitigation measures rather than relying on assumptions about ventilation or construction quality.
Should You Test Before Attempting DIY Radon Removal?
Yes. Testing should come before attempting to remove or reduce radon.
A radon test provides information about the concentration inside your home and helps determine whether mitigation is necessary. Short-term tests can provide an initial indication, while longer testing periods may provide a better representation of average exposure.
After installing any radon reduction measures, the home should be tested again. This follow-up test is important because a system that appears to be functioning may not actually reduce radon to an acceptable level.
Without before-and-after testing, homeowners have no reliable way to determine whether their DIY efforts have been successful.
Can Sealing Cracks Reduce Radon?
Sealing cracks and openings can be useful, but it should not normally be considered a complete radon mitigation strategy.
Common areas that may need attention include:
- Foundation cracks
- Construction joints
- Gaps around pipes
- Floor drains
- Sump pits
- Openings around utility lines
- Gaps between floors and foundation walls
Appropriate sealants can reduce some pathways through which soil gas enters the home. However, radon can move through very small openings, and sealing visible cracks does not necessarily stop all entry.
Sealing is often most effective when combined with other mitigation techniques.
How Does a Radon Mitigation System Work?
One of the most common mitigation approaches uses soil depressurization. A pipe is installed through the slab or another suitable location to draw soil gas from beneath the building. A fan then moves the gas through the piping and releases it safely outside.
The basic concept is straightforward, but designing the system correctly requires understanding the home's foundation, sub-slab conditions, drainage system, and potential entry points.
A DIY installation that uses an incorrectly sized fan, poorly positioned suction point, or inadequate piping may not create sufficient pressure reduction beneath the building.
This is why professional assessment can be valuable even when a homeowner wants to perform some of the work independently.
What Are the Risks of a DIY Radon Removal Service?
A DIY approach can appear attractive because it may reduce upfront costs. However, several risks should be considered.
Incorrect System Design
Every home is different. A system that works well in one property may not perform the same way in another. Foundation design, soil permeability, building size, and existing ventilation can influence results.
Inadequate Ventilation or Exhaust
Radon mitigation systems must be designed so that extracted soil gas is discharged safely outside the building. Poor installation can potentially allow radon to re-enter the home.
Electrical and Fan Concerns
Mitigation fans require appropriate installation and ongoing operation. Electrical connections and equipment placement should be handled carefully to avoid creating safety problems.
Failure to Verify Results
Perhaps the biggest problem is assuming that a completed DIY system has worked without conducting follow-up radon testing.
The goal is not simply to install pipes and a fan. The goal is to measurably reduce radon levels.
When Can DIY Measures Be Helpful?
DIY measures may be useful for homeowners who want to improve their home's overall radon resistance or complement an existing mitigation strategy.
For example, homeowners may inspect accessible areas for obvious openings and maintain seals around suitable foundation penetrations. They can also monitor radon levels using an appropriate testing device and keep records of test results.
These actions can support a broader radon management plan, but they should not replace professional evaluation when radon levels are significantly elevated or when the property's construction makes mitigation complicated.
When Should You Hire a Professional?
Professional assistance is particularly appropriate when testing shows consistently elevated radon levels or when a home requires a dedicated mitigation system.
A qualified specialist can assess the structure, identify likely radon entry routes, determine the appropriate mitigation technique, install suitable equipment, and recommend post-installation testing.
Professional installation can also be valuable when the home has multiple foundation levels, a crawl space, unusual construction, complex drainage, or other conditions that make DIY installation difficult.
The cost of professional mitigation should also be considered alongside the potential cost of installing an ineffective system and having to correct it later.
How Can You Make a DIY Radon Reduction Effort More Effective?
If you are considering a DIY radon removal service, start with a measured and systematic approach.
First, conduct a reliable radon test and document the result. Next, inspect the lower levels of the home for visible openings and potential entry points. If appropriate, seal accessible cracks and gaps using suitable materials.
After making changes, test again to determine whether radon concentrations have changed.
If levels remain elevated, avoid repeatedly experimenting with different solutions without professional guidance. A mitigation specialist can determine whether a sub-slab depressurization or another system is needed.
The most important principle is to measure results rather than assume that a particular solution has worked.
What Should Homeowners Consider Before Choosing DIY Mitigation?
Before starting a DIY project, consider the following questions:
- Have you completed reliable radon testing?
- Do you understand the construction of your foundation?
- Can you identify the likely radon entry routes?
- Do you know which mitigation method is appropriate?
- Can the system safely exhaust soil gas outdoors?
- Will you perform post-installation testing?
- Are you comfortable maintaining the system over time?
If the answer to several of these questions is no, professional assistance may be the safer and more practical option.
Conclusion
A DIY radon removal service may involve useful steps such as testing, sealing accessible openings, monitoring levels, and improving the home's overall radon resistance. However, reducing elevated radon levels effectively is not always a simple home improvement project.
The most important first step is accurate testing. Once elevated radon has been confirmed, homeowners should select a mitigation strategy based on the property's construction and measured radon levels. Professional assistance can help ensure that a mitigation system is properly designed, installed, and verified.
Whether you choose a DIY approach or professional mitigation, the objective should remain the same: reduce indoor radon exposure through a properly planned and measurable solution. Testing before and after mitigation gives homeowners the information they need to determine whether their efforts are actually working.

 English
 Arabic
 French
 Spanish
 Portuguese
 Deutsch
 Turkish
 Dutch
Dutch
 Russian
 Romaian
 Portuguese (Brazil)
 Greek
Greek